
Ask five shooters how to mount a rifle scope, and you’ll get six different answers. Some will work and some won’t. This one works. I am by no means saying this is the only way to mount a scope, but with more than a decade of working in the optics space, there’s some value in this approach. I’ve mounted hundreds of scopes, and when using this method, I very rarely run into problems.
Here’s how to do it right.
Step 1: Get Your Tools Together
Before you start, gather everything:
- The rifle
- The optic
- A good set of rings
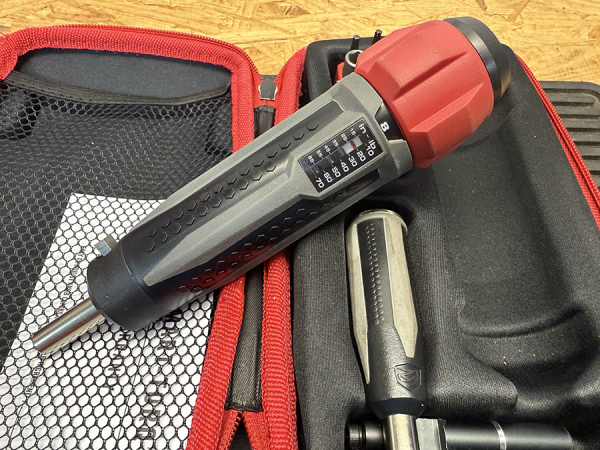
- A torque driver (adjustable, inch-pounds)
- A level that mounts to a Picatinny rail
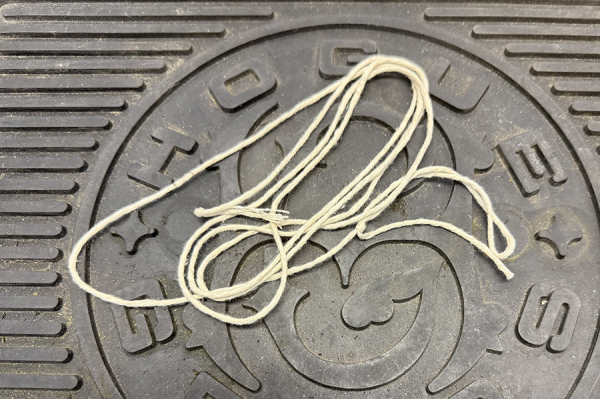
- A plumb bob and string
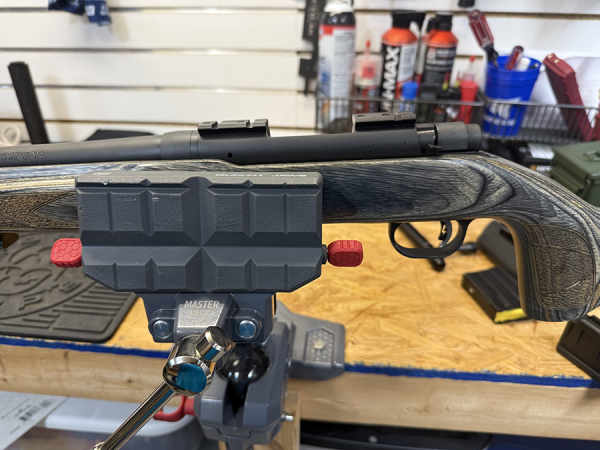
- A vise or gun clamp that locks the rifle in place
Don’t skip the setup. You can’t rush a solid mount.
Step 2: Hang Your Plumb Line
Hang the plumb bob in front of your workbench. You’ll use it later to line up your reticle.
Step 3: Lock Down the Rifle
Secure the rifle in your vise or workstation. Get it roughly in line with the plumb string using your eyes. Close is fine for now.
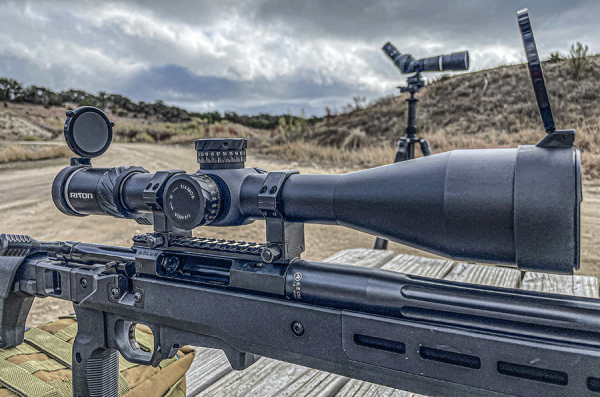
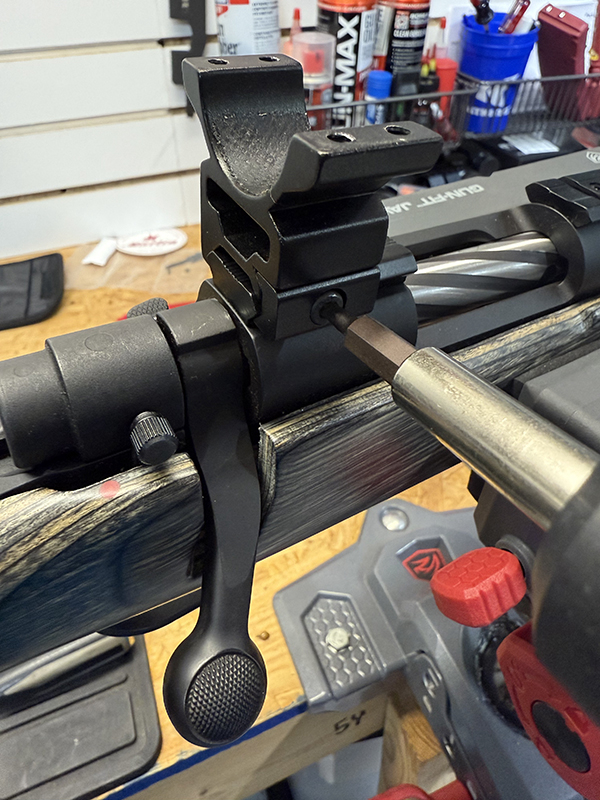
Step 4: Install the Rings
Mount your rings to the base rail (Picatinny or Weaver). Use the torque driver and follow the manufacturer’s specs. Usually around 30 inch-pounds. Don’t guess. Torque it right.
Step 5: Place the Scope
Drop the scope into the rings. Just start screwing down the cap screws. Don’t tighten anything yet.
Put the scope on its highest magnification and push it forward while looking through it. Stop when black fringing starts to creep in on the edges and back it up slowly until the full field of view appears. No dark rings around the edge. That’s your eye relief sweet spot.
Mark it if you need to. A small dot with a marker on a scope tube can be barely visible and then wipe right off. You can also use a dot of clear fingernail polish if you want to ensure that it hasn’t moved in the rings over time.
Step 6: Level the Reticle
Use the rail-mounted level to get the rifle perfectly level. Now look at the reticle and line up the vertical line with the plumb string. Rotate the scope until they match exactly.
That means your reticle is truly vertical. Not “close.” Not “good enough.” Dead straight.
For a single aim point scope, this matters, but isn’t critical. For any graduated reticle, whether it’s a MIL or MOA reticle system, or a ballistic reticle, if it isn’t perfectly level, you won’t be able to trust your holdover points. Similarly, if you are someone who dials your turrets, you won’t be able to trust that your scope is tracking straight.
Before you ask…no, you can’t just put a level on your turret or turret cap. If we could know that every scope was perfectly square, every machined thread was perfect, and every turret or cap seated perfectly level, then sure, we could do that.
That said, if every receiver was perfectly tooled, and every barrel had a pristine crown, and every bullet flew perfectly, scopes wouldn’t need turrets in the first place.
We just can’t ensure that the reticle is perfectly in line with the flat surface of the turret. But we can know that a plumb line in perfectly straight, and we can get as close as possible to that string. We can know that we’ve done all we can to make that reticle is square.
Step 7: Secure the Scope
Set your torque driver to 10 inch-pounds. Start with one rear ring cap screw. Tighten it until your driver engages the torque setting. Work in a criss-cross pattern like lug nuts. Then the same thing on the front ring.
Now bump up the torque to 18 inch-pounds or your ring’s recommended setting. Repeat the criss-cross pattern again for both rings. Take your time. Equal pressure is key. This keeps the scope from binding in the rings.
Yes, I’m adding a step by having you do this twice, at two different torque settings. I’ve found that by doing it this way, rather than torquing the first screw all the way down, then working forward, you end up with a more evenly mounted scope. While it doesn’t happen often, I’ve had some rings bind up when torquing to full spec right away.
For the small additional amount of time than it takes, I like doing it in phases, checking the reticle after each round to make sure the scope hasn’t moved, and also checking eye relief before the final torque.
Step 8: Final Checks
Recheck the base screws. Make sure nothing has shifted. Check your eye relief again. Check your vertical reticle alignment. If anything has moved, back up and do it again.
Don’t cut corners here. A sloppy mount leads to missed shots, wasted ammo, and a bad day.
Bottom Line
Again, there is more than one way to mount a scope. But there are a whole lot more ways to screw it up. This process works. It gives you solid torque, straight alignment, and max eye relief—all without crushing your tube or throwing off your zero.
You spent good money on your rifle and your optic. Do it right the first time. Soon we’ll talk about zeroing an optic and how it relates to mounting.
– Trent March, Shooting News Weekly